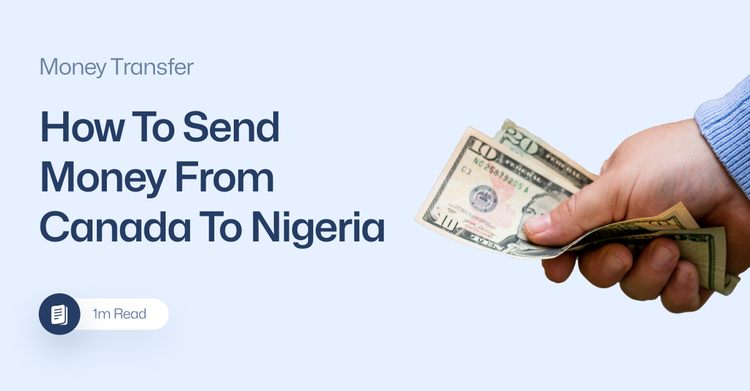
How to Transfer Money on Zole: A Step-by-Step Guide
Transferring money across borders is a common necessity for many, whether it’s supporting family, paying bills, or settling business transactions.
With Zole, the process is simplified, providing you with a fast, secure, and cost-effective way to transfer funds from one country to another.
This guide will walk you through the step-by-step process of how to transfer money using Zole, By following these steps, you can ensure that your transactions are smooth and efficient.
1. Set Up Your Zole Account
Before you can start transferring money, you will need to create a Zole account. Simply search for the Zole app on either your Playstore or Appstore and download it.
Once the app is installed, sign up by providing basic information such as your name, email address, and phone number. You will also need to verify your identity with a valid government-issued ID.
After setting up your account, link your bank account as this allows you to fund your transfers directly from your choice of financial institution.
2. Initiating A Money Transfer
With your account set up, you are ready to initiate your first transfer. Here’s how to go about it:
- Log into Your Zole Account using your username and password. You can also login with your fingerprint or face ID.
- Once logged in, navigate to the main dashboard and select the ‘Send’ option. This will direct you to the transfer page.
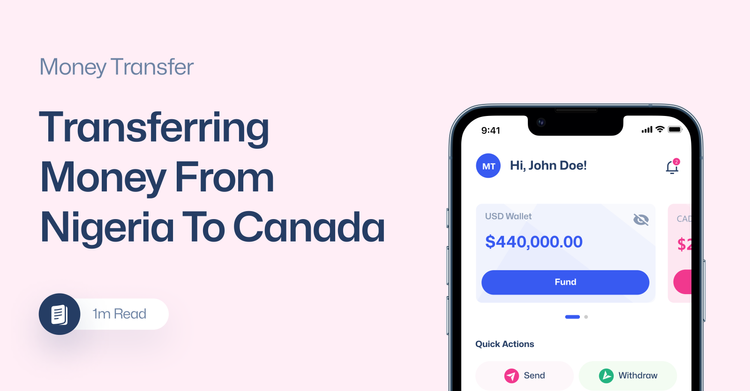
- You will be prompted to select the country where you are sending the money to. For example, if you are sending money from Nigeria to Canada, select Nigeria as the recipient country.
- Enter the amount of money you want to send. Zole will automatically show you the exchange rate and convert the money allowing you to see exactly how much the recipient will get.
Keep in mind that Zole doesn’t charge any service charge, so the amount you see is the amount the recipient will be getting.
3. Providing Recipient Information
For your transfer to be successful, you will need to provide the accurate details about the recipient. Zole has made this easy in such a way that you only need the recipient’s phone number to send them money.
4. Review And Confirm Your Transfer
Once you have entered the recipient’s details(name and phone number) and the amount that you want to transfer, review all the information carefully and enter a description of the transaction.
Once you are satisfied with the details, confirm the transaction. Zole will process your payment, and you will receive a notification confirming that the money has been sent.
5. Tracking Your Transfer
Zole ensures your transfers are not only secure but incredibly fast. With real-time tracking, you can monitor your transfer every step of the way. You will receive instant notifications when your funds are sent.
At Zole, we prioritize speed and efficiency, making sure your money reaches its destination in no time.
Sending money internationally doesn’t have to be complicated. At Zole, we are committed to making your international transfers seamless and cost-effective.
By following these steps, you can quickly and easily transfer money using Zole, whether you are sending funds to Nigeria, Canada, or the United States. Zole’s user-friendly interface, competitive exchange rates, and fast processing times make it the go-to solution for cross-border money transfers.